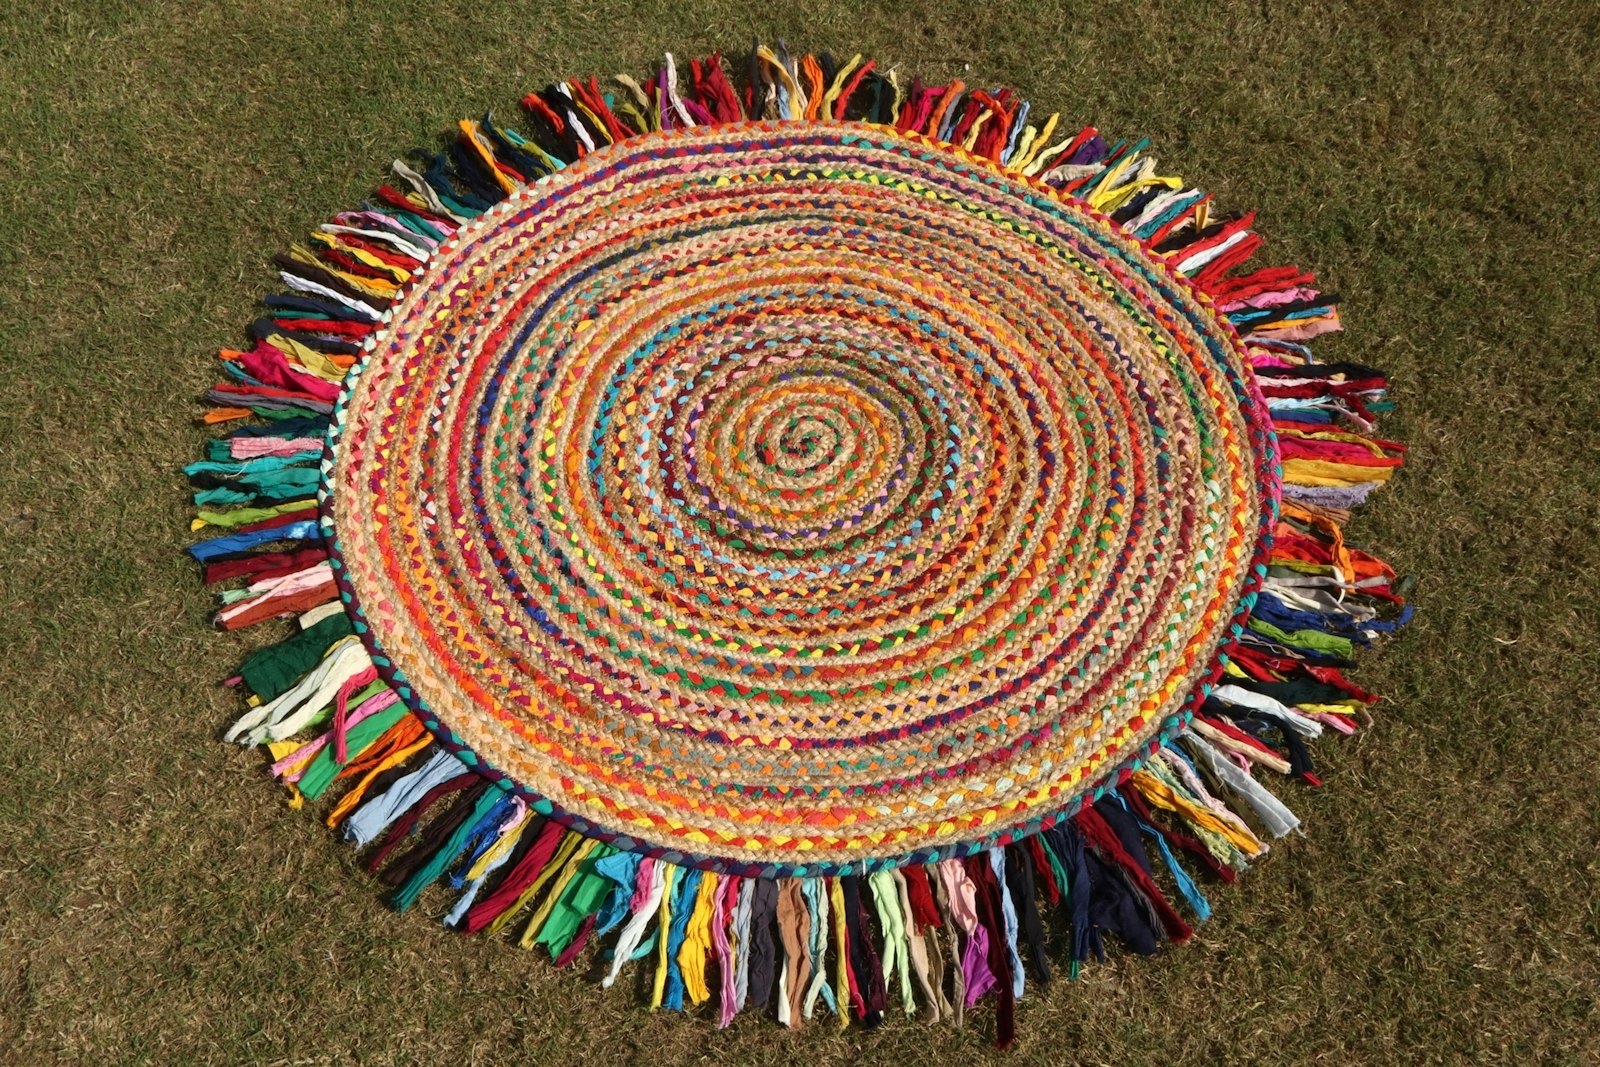
That drawer of T-shirts you’ll never wear again? It’s a rug. A big, round, rainbow, fringy rug that looks like it came from a 1970s craft fair.
Braided rag rugs are pure retro joy. My nan had one in front of the fire, and I’ve wanted one ever since. They’re also the most satisfying way to use up old clothes and bedsheets. This project takes a few evenings of happy, telly-on braiding and costs almost nothing. The result is a round rug bursting with every colour you’ve ever owned.
You’ll need
- Lots of old T-shirts, sheets and cotton fabric in bright colours (about 15 T-shirts for a 90 cm rug)
- Sharp fabric scissors or a rotary cutter and mat
- A large safety pin and a bulldog clip
- Strong upholstery thread or button thread in a bright colour
- A big blunt tapestry needle
- Extra fabric scraps for the fringe
Step 1: Cut your strips
Cut fabric into strips about 4 cm wide. For T-shirts, cut straight across the body to make loops, then snip each loop open into one long strip. Give jersey strips a tug and they’ll curl into neat tubes. Sort the strips into colour piles; it makes planning the rainbow much easier.
Step 2: Join and braid
Take three strips, stitch the ends together, clip them to a table and start a basic plait. Keep the tension even: firm but not tight, or your rug will cup. When a strip runs out, cut a small slit near the end of the old strip and the start of a new one, thread one through the other and pull. No sewing needed. Stagger the joins so they don’t all land in the same spot.
Step 3: Change colours as you go
This is where the rainbow happens. Swap one strand at a time to blend gently from red to orange to yellow and so on. Changing all three at once makes a hard stripe, which also looks great if you want rings.
Step 4: Coil and stitch
Once you’ve got a couple of metres of braid, start coiling it into a tight spiral, flat on the floor. Using the tapestry needle and strong thread, lace the coils together by passing the needle through the loops of the braid side by side, never through the fabric itself. Ease the braid around the curves so the rug stays flat. Keep braiding and coiling until it’s the size you want.
Step 5: Add the fringe
Cut 20 cm lengths from your scraps in every colour. Fold each in half, push the fold through the outer coil with a crochet hook or your fingers, then pull the ends through the loop to make a lark’s head knot. Space them every few centimetres all the way round. Trim to roughly even, or don’t. Shaggy is the point.
Make it yours
- Go oval instead of round by starting with a straight braid 30 cm long before coiling.
- Use only two or three colours for a bold target-style rug.
- Make a tiny version as a chair pad or plant mat.
- Put a non-slip rug pad underneath on hard floors. Safety first, joy second. 🌈